Are your speakers not loud enough or is that you’re not impressed with the quality? If you want to get the best sound from your speakers, you’re in the right place. We’ll outline the different methods you can use to Make Computer Speakers Louder. Also share some of the best tools you can use to enhance the performance of sound systems on your computer.
How To Make Computer Speakers Louder in windows
The methods we’re going to share are applicable to most windows versions including windows XP through Windows 10. Some of the methods however won’t work for old Windows versions like XP or Vista. If a method doesn’t work for you, you should use another method since we’ll share different ways of doing it.
How To Make Computer Speakers Louder
Change Audio Enhancement Settings
The default sound settings on Windows were meant to cover small areas and that’s why you find that the sound isn’t that great. Here is how to change the enhancement settings for more loudness:
- Locate the volume icon which is in the taskbar at the bottom right of your Windows screen.
- You can see “Playback Devices” from the options.
- Under the “Playback” Tab, you should click on “Speakers” and then click on “properties”.
- The “Speakers Properties” window will now open, you should click on the “Enhancement” tab.
- Then you tick on the option “Loudness Equalization”.
- You now click OK to exit the Window.

Change Audio Enhancement Settings
By checking the “loudness Equalization” option, you’ve to boost all the sound systems on your computer. A lot of the sound cards that come with most Windows versions support this option and if it happens that your PC doesn’t support this feature, you can then use other methods we are going to share later.
Use sound boosting applications
There are a lot of applications out there that will help improve the quality of your system sounds with a few clicks and the good thing is that you’ll find many free options, but the paid ones will be better. Even the free ones require upgrading to paid plans before using premium features. The free options however aren’t bad either and you can improve the sound of your computer. Let’s take a look at some of them that are worth trying:
- DFX Audio Enhancer – This is an easy plugin that allows users to improve sound quality on their computer, it’s easy to use and has great features. With DFX Audio Enhancer you’re able to improve the sound of Audio and Video files, games, and Internet audio like YouTube or any other streaming site you’re using. There is a limited edition which is free and also the paid version that has better features.
- Bongiovi DPS – This is a paid tool that is good when it comes to increasing sound quality, you can however test the tool using their trial version. The tool is available on Win7, 8, and newer windows versions.
- SoundPimp – This tool also comes with high definition stereo to optimize your PC sound, it’s available on all the major operating systems we have including Windows, Mac, and Linux.
Using VLC Media Player
VLC Media Player is the most used media player and it comes for free, this free tool can match even the paid tools out there and chances are, you’re using it to play media files. That’s why there is a need to address how to increase sound volume and quality with VLC Media Player.
Even if you’re not currently using VLC player you should consider downloading it because it allows you to increase volume than any other media player out there.
The easiest way to improve the sound on VLC Player is to use the volume control it comes with which can be seen bottom right, you can increase the volume to 125%. This increase will improve the sound of speakers significantly.
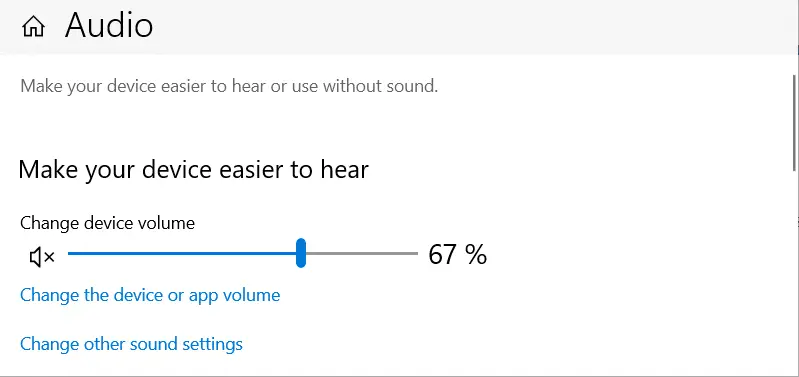
Change volume controls
With all Windows versions you have the option to adjust the volume controls and it’s one of the easiest ways you can make your computer louder. Here is how to do that:
- Right-click on the speaker icon on the taskbar, at the bottom right.
- Click on “Open Volume Mixer”, it should be the first option in the context menu.
- On the screen that shows up, you can see your sound devices and applications with sliders so that you can adjust them. You can move the sliders up to your satisfaction.
- Play your media files while you’re adjusting the slides, once you’re ok with the sound, you just close the window.

change volume control
Check The Default Playback Device
It’s possible that you’ve added a different Playback device other than the one that comes with Windows, you want to make sure it’s the one set as the default Playback device. You can check the default Playback device with these steps:
- Right-click on the Speaker Icon which is on your System tray.
- Click sound from the options.
- Then you click the “Playback” tab or “Playback devices”, depending on your system version.
- You can now see the list of your playback devices on the screen.
- Locate the device you want to use and click on it, once you click on it, then click the button “Set default” or “Set as default device”.
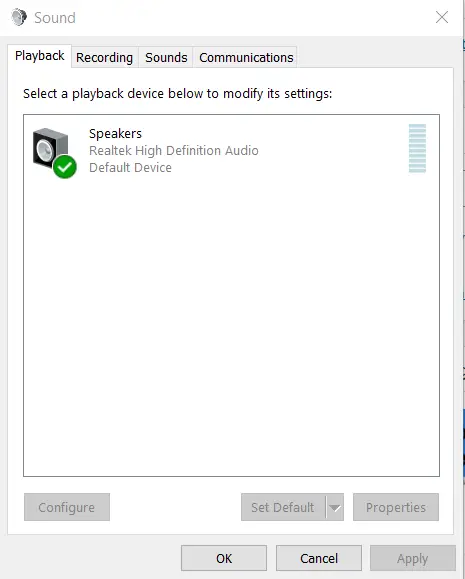
Speaker Default Device
Update audio drivers
If you want the best sound on your speakers, you need the latest audio drivers installed on your computer. The audio driver will get corrupt over time if not updated, and will not send an optimized sound.
Go to Device Manager and locate your Audio Driver, just type Device Manager in windows search and you can see it. Right-click on the Audio Driver and Click on update, windows will search for updates and install them if available. You can also visit the manufacturer website to download the latest driver and then install manually on your PC, you should, however, make sure to remove the old version, or else you can encounter errors during updates.
Use Windows Audio Troubleshooter
Windows 10 comes with Audio Troubleshooter: you need to use this tool when your sound is very low or when the speakers are not emitting sound properly. The Troubleshooter will find Audio problems and fix them automatically. Here is how to do that:
- Type “Troubleshooter” in Windows search and the Troubleshooter Manager will show up, click to launch the tool.
- Click on “Troubleshoot” to continue.
- You now click on “Playing Audio” Troubleshooter.
- Then you click on “Run the Troubleshooter”.
- It will now scan for audio problems on your device and if found will be fixed automatically.
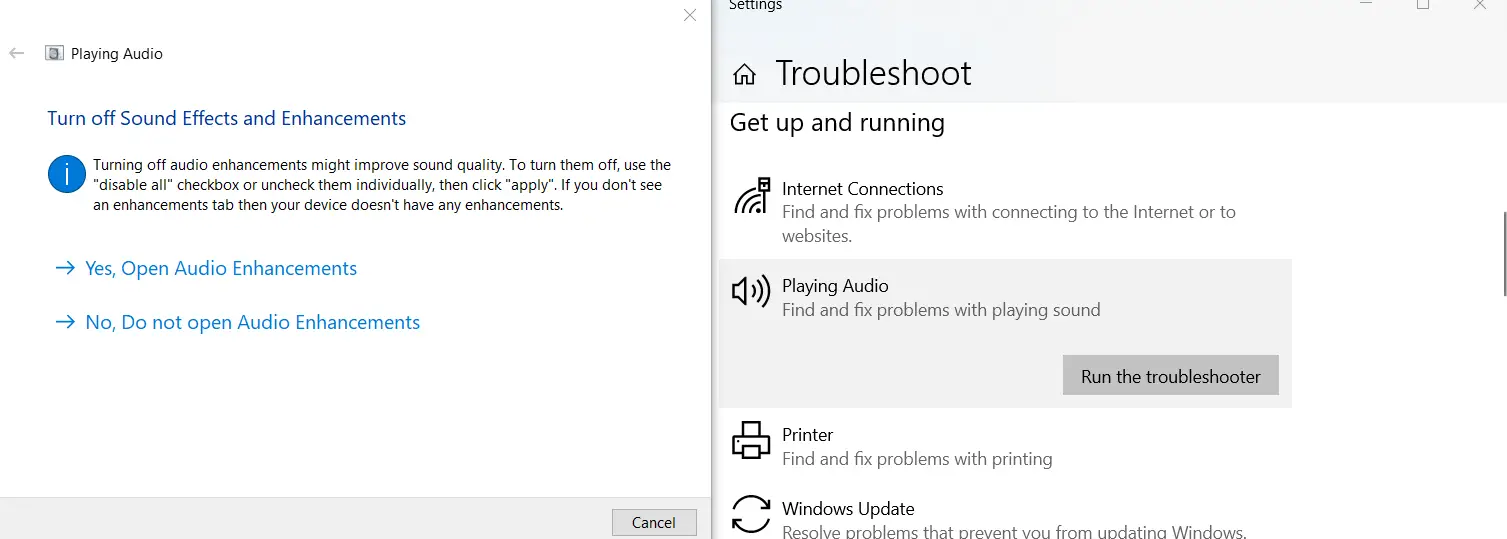
Use Windows Audio Troubleshooter
Clean your speakers
When dust accumulates, your speakers cannot produce sound properly, these dust particles can start playing up and cause random noise in your speakers. If you’re experiencing low sound or suspicious noise, you should open your speaker, or preferably you should take to a technician so that they can blow the dust appropriately.
Update Windows
When windows don’t have the essential updates, sound may be reduced, you need to update Windows after installing driver updates because most manufacturers design their audio devices in the sense that they’re compatible with the latest Windows update release. In order to check for updates, you should head over to “Settings” by pressing Windows + I keys. From the Settings App, you should click on “Update & Security”, you can now see the option “Check for updates”
Restart Sound Controller
If the problem isn’t fixed by now, you should restart the sound controller since they’re responsible for sound output on your computer. Here is how to do that:
- Open Device Manager by pressing Windows + X keys, from the list, you then choose “Device Manager”.
- Go to Sound, Viedo, and Game controllers, click to expand.
- Find the sound controller you’re using and right-click on it.
- You can see the option “Disable Device” from the menu.
- Wait for some minutes and then right the sound controller again to select “Enable”.
- Restart your and see if your sound is fixed.
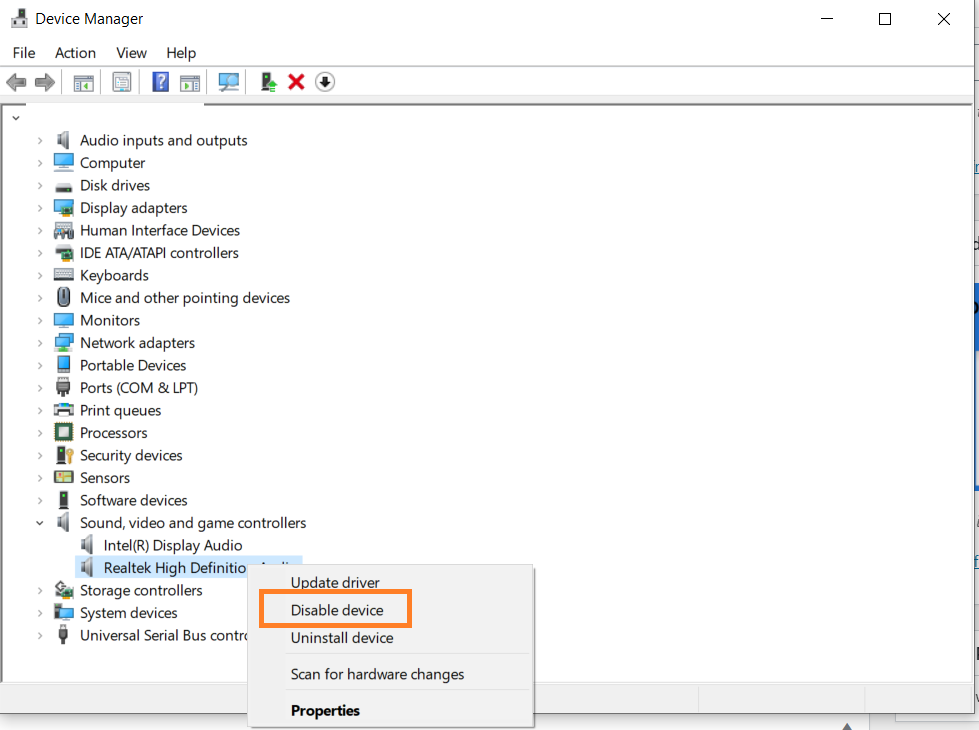
Restart Sound Controller
That’s it for this post and we believe by following the troubleshoots mentioned in this article you can improve the loudness of your computer speakers.
